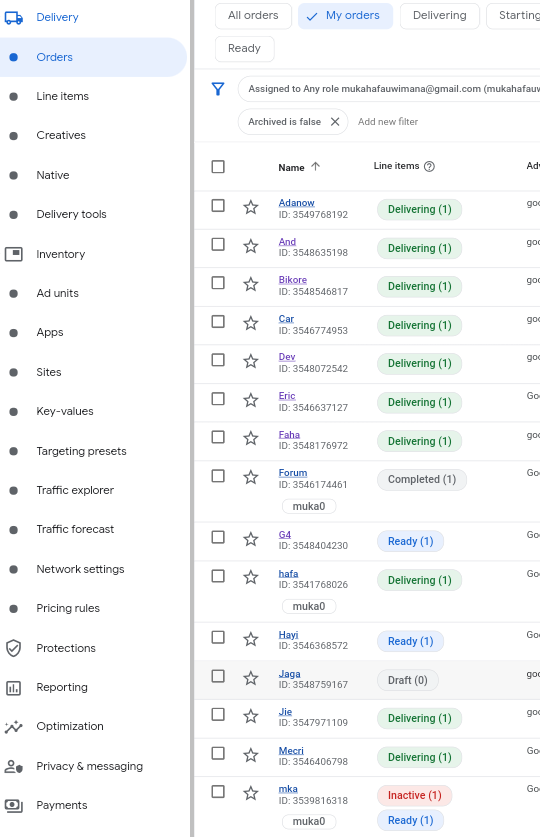
In the left-hand menu, click on "Delivery" and then select "Orders".
Create a New Order :
Click on the "+" button or "New order" to create a new order.
Enter Order Details :
Advertiser : Select the advertiser for the order. If the advertiser is not already in your list, you can add a new one by selecting "New advertiser".
Order Name : Give your order a descriptive name.
Salesperson : Select the salesperson managing this order.
Trafficker : Choose the trafficker responsible for the trafficking order.
Start and End Dates : Specify the start and end dates for the order.
Priority : Set the priority for this order.
Save the Order :
After filling in the details, click "Save".
Creating a Line Item in Google Ad Manager
Once you have created an order, you need to create line items within that order.
Select the Order :
In the "Orders" section, find the order you just created and click on it.
Create a New Line Item :
Click on the "New line item" button within the order.
Enter Line Item Details :
Name : Give your line item a descriptive name.
Type : Select the type of line item (eg, Standard, Sponsorship, Network, etc.).
Priority : Depending on the type of line item, set its priority.
Inventory Size : Select the ad unit sizes (eg, 300x250, 728x90).
Start and End Dates : Specify the start and end dates for the line item.
Goal : Set the goal for this line item (eg, impressions, clicks).
Pricing : Set the rate (eg, CPM, CPC).
Targeting :
Click on "Add targeting" to specify the targeting criteria for this line item. This can include geographical locations, demographics, ad units, key-values, etc.
Creatives :
Upload or link the creatives (ads) you want to use for this line item. Ensure they match the inventory sizes specified earlier.
Frequency Capping and Other Settings :
Set frequency capping if needed, to limit the number of times a user sees the ad.
Configure any additional settings relevant to your campaign.
Save the Line Item :
After filling in all the details, click "Save".
Example
Here's an example to illustrate the steps:
Order Example:
Advertiser : Example Advertiser
Order Name : Spring Campaign 2024
Salesperson : John Doe
Trafficker : Jane Smith
Start Date : June 1, 2024
End Date : June 30, 2024
Priority : High
Line Item Example:
Name : Homepage Banner
Type : Standard
Priority : 8
Inventory Size : 728x90
Start Date : June 1, 2024
End Date : June 30, 2024
Goal : 100,000 impressions
Pricing : $5 CPM
Targeting : United States, Homepage Section
Creatives : Upload the 728x90 banner ad creative
Frequency Capping : 3 impressions per user per day
Create a Creative
Add a Creative :
Within the line item details page, click on Add creative .
Select Creative Type :
Choose the type of creative you want to add (eg, Image, Video, HTML5).
Upload Creative Assets :
For an Image Creative :
Name : Give a name to the creative.
Size : Select the size that matches your line item.
Image File : Upload the image file.
Destination URL : Enter the URL where users will be directed when they click the ad.
For a Video Creative :
Name : Give a name to the creative.
Size : Select the size that matches your line item.
Video File : Upload the video file.
Companion Ads : Optionally, add companion ads.
Destination URL : Enter the URL where users will be directed when they click the ad.
Save the Creative : Click Save to add the creative to your line item.
Final Steps
Review and Approve : Review the details of your order, line item, and creatives to ensure everything is set up correctly.
Activate : Once reviewed, click Activate to start serving the ads.
After saving the line item, it will be reviewed and trafficked according to the schedule and targeting you have set. Monitor the performance regularly using the reporting features in Google Ad Manager and make adjustments as needed to optimize your campaign.By following these steps, you can effectively create and manage orders and line items in Google Ad Manager, helping you to monetize your Tistory.com content successfully.